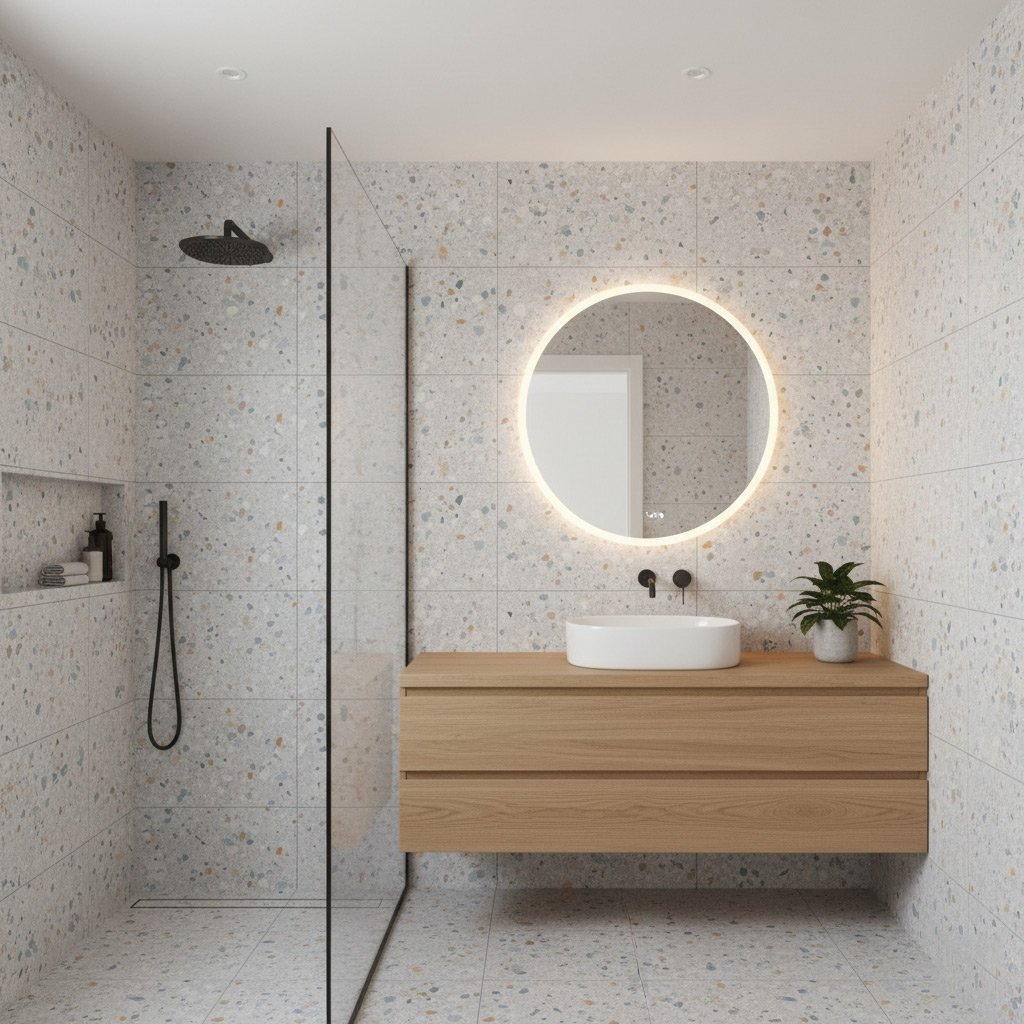
Picture this: you step out of a rain‑like shower, and instead of a cold tile floor, you glide into a deep, soothing tub that feels like a personal retreat. That switch from splash to soak can turn a cramped bathroom into the centerpiece of your home.
In Fountain Hills, families are swapping showers for tubs for all the right reasons—whether it’s giving grandparents a safer bathing spot, adding a touch of luxury, or boosting resale value. The good news? You don’t need a contractor’s PhD to make it happen.
We’ve broken the whole process down into a clear, no‑nonsense roadmap, so you can see each step, avoid costly missteps, and enjoy the results faster than you thought possible. Keep reading to discover exactly how to turn that shower into the tub you’ve been dreaming about.
Assessing Your Space, Layout, and Budget
Measure Twice, Cut Once
Start by pulling out a tape measure and sketching the existing shower footprint. Note the width, depth, and ceiling height—those numbers will dictate the tub size you can actually fit. Don’t forget to check the floor joists; a tub adds weight, and you’ll need a solid base.
Layout Realities
Look at the door swing, vanity placement, and where the drain sits now. A tub often needs a different drain angle, so you may have to shift the vanity or relocate the toilet. Key questions to ask yourself:
- Will the new tub block the bathroom door?
- Is there enough clearance for a comfortable soak (at least 24‑30 inches of legroom)?
- Can the existing plumbing be extended without tearing out walls?
Budget Blueprint
Set a realistic ceiling before you fall in love with marble. Basic acrylic tubs start around $500, while freestanding cast‑iron models can top $3,000. Add labor, new fixtures, and a contingency of 10‑15 % for surprises like hidden water damage.
Write down every line item—tub, faucet, tile, permits, disposal fees. When the numbers are on paper, you’ll see where you can splurge (maybe a heated backrest) and where you need to hold back (perhaps a simpler tile pattern).
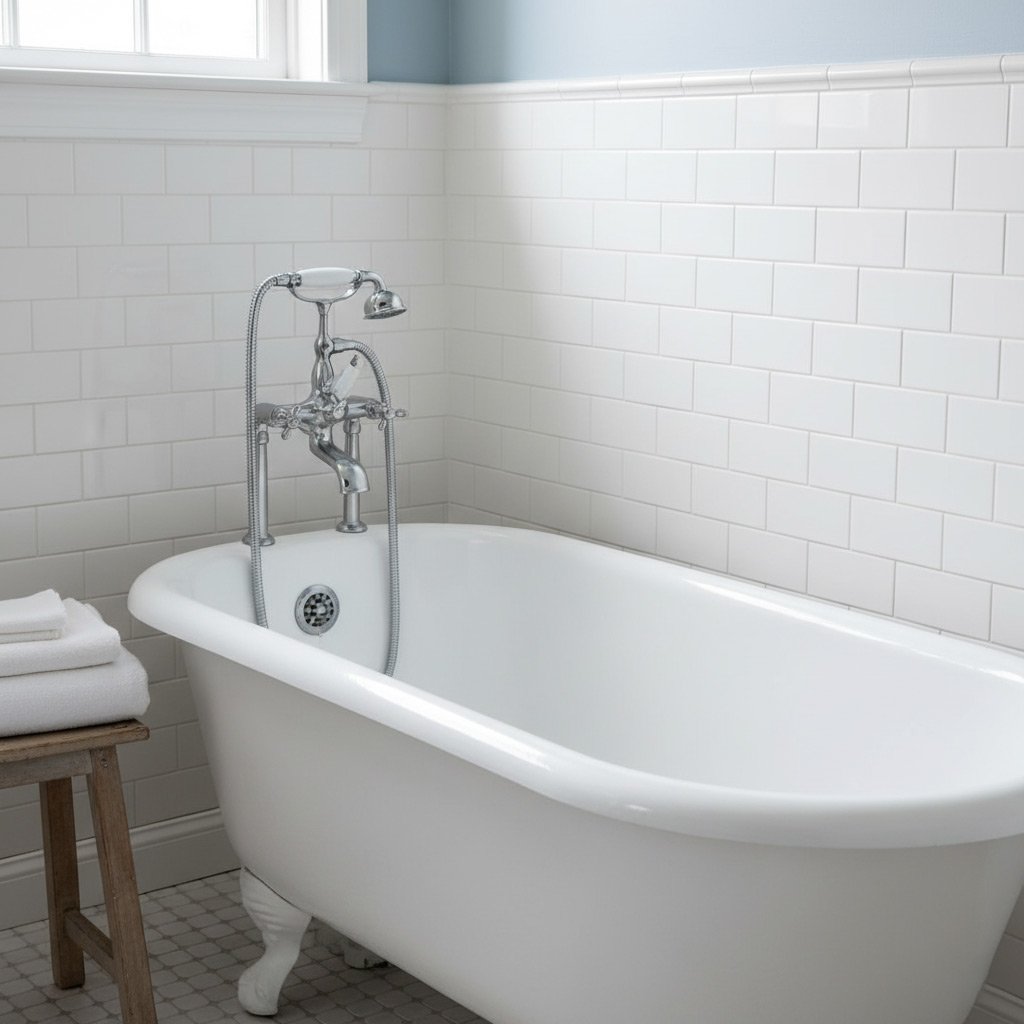
Selecting the Ideal Tub and Fixtures for Fountain Hills HomesPick the Right Tub for Your Space
First, measure the footprint. A tub that’s too big will crowd the room; too small and you’ll miss the soak factor.
Consider these popular shapes:
- Classic Alcove – fits snugly into a three‑wall niche, perfect for modest bathrooms.
- Freestanding Oval – makes a statement, adds visual height, and works well with open‑concept layouts.
- Deep Soaking Rectangle – ideal for longer baths, especially when you want a spa‑like feel.
Material matters too. Acrylic is lightweight and budget‑friendly, while cast iron holds heat longer and feels solid underfoot.
Choose Fixtures That Complement the Tub
Faucet style should echo the tub’s vibe. A sleek single‑handle lever pairs nicely with a modern freestanding tub, whereas a cross‑handle set adds vintage charm to a classic alcove.
Don’t forget the accessories:
- Wall‑mounted tub filler – saves floor space and looks clean.
- Hand‑held showerhead – gives flexibility for kids or pets.
- Grab bars – essential for safety, especially for seniors.
Match finishes to your bathroom hardware. Brushed nickel, oil‑rubbed bronze, or matte black can tie the whole room together.
Local Style and Resale Considerations
Fountain Hills loves a desert‑inspired palette. Earth tones, warm wood accents, and stone tiles blend naturally with the landscape.
When you pick a tub and fixtures, think about future buyers. A well‑chosen, high‑quality tub can add $5,000‑$10,000 to your home’s value.
Finally, keep an eye on the warranty. A solid warranty protects your investment and gives peace of mind during the remodel.
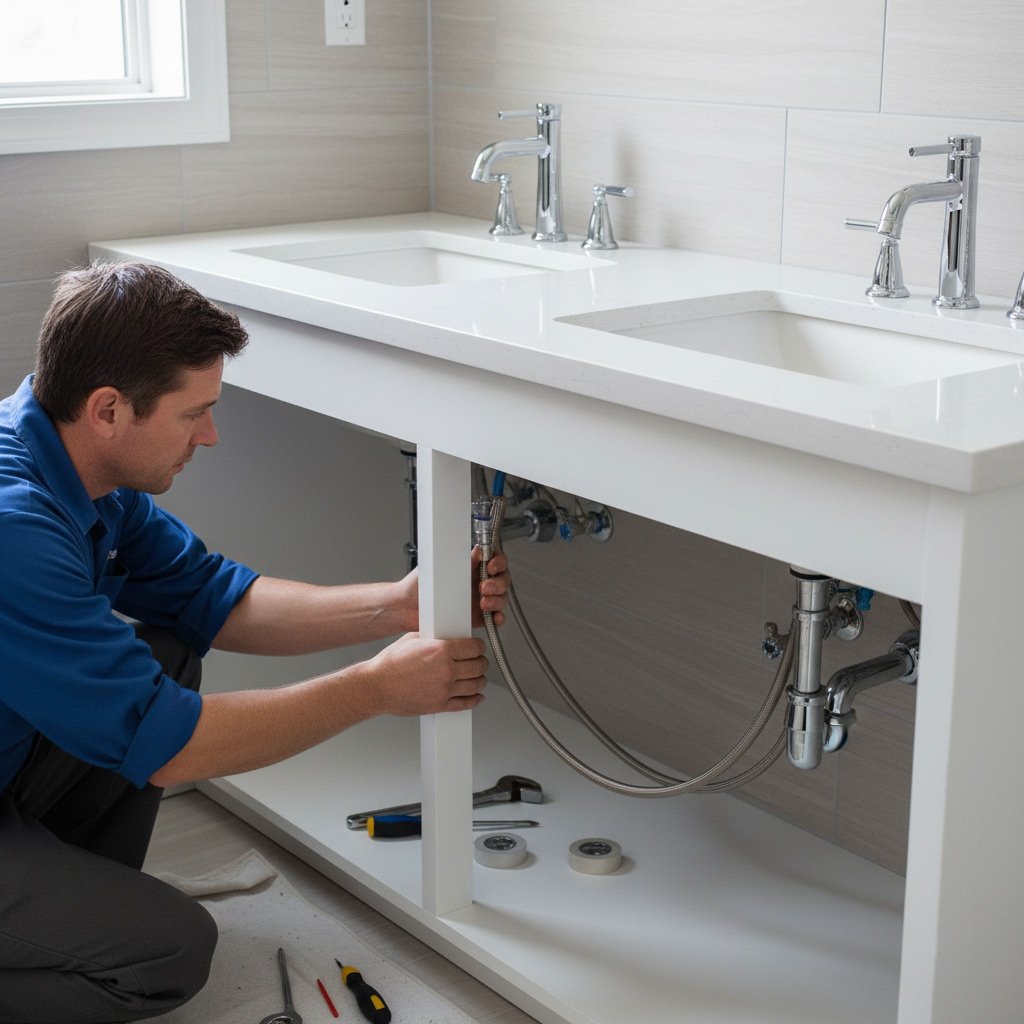
Plumbing, Drainage, and Structural Modifications You Must Know
Assessing Existing Plumbing
First, locate the main waste line behind the shower wall. In most Fountain Hills homes it’s a 3‑inch PVC pipe that slopes toward the floor drain. Mark the pipe and measure the distance to the new tub’s drain location.
If the current pipe is too short, you’ll need a short extension or a new P‑trap. A ½‑inch shift in alignment can cause a slow drain, so double‑check before you cut.
Choosing the Right Drain Assembly
Modern tubs use a 2‑inch drain with a pop‑up stopper. Make sure the tub’s drain size matches the existing waste line; adapters are cheap but add extra joints.
- Standard 2‑inch PVC hub – most common.
- Cast iron hub – heavier, but great for sound dampening.
- Slip‑fit hub – easy install, but watch for leaks.
Seal every connection with plumber’s tape and a bead of silicone. One missed wrap and you’ve got a drip that can ruin the whole job.
Structural Considerations
The tub adds weight—often 150 lb when filled. Verify that the floor joists can handle the load. In older homes, a sistered joist or a plywood reinforcement may be required.
Check the subfloor for water damage before you pour new mortar. A dry, solid base prevents future squeaks and cracks.
Demolition, Preparation, and Step‑by‑Step Installation Process
Clear the Old Shower
First, shut off the water and disconnect the faucet, valve, and drain line. Don’t rush—a quick snap of the shower pan can send shards everywhere.
Next, break out the tile and remove the old tub base. Use a hammer and a pry bar, then sweep away dust and debris.
- Wear safety goggles and a dust mask.
- Save any reusable tile for later projects.
- Dispose of broken pieces according to Fountain Hills regulations.
Prep the Space
Once the cavity is clean, inspect the studs for rot or water damage; replace any compromised wood before you move on.
Apply a water‑tight membrane over the floor and walls, overlapping seams by at least 6 inches. This is the armor that keeps future leaks at bay.
- Use a high‑quality cement board for added strength.
- Seal all corners with silicone caulk.
- Mark the tub’s footprint on the floor to guide the next steps.
Install the Tub
Set the tub into the prepared opening, making sure it sits level—use shims under the base if needed.
Connect the drain and overflow pipes, then hook up the faucet and any handheld sprayer. Tighten fittings, then run water to check for leaks.
- Secure the tub with the manufacturer’s brackets.
- Apply a bead of silicone around the perimeter before tiling.
- Let the silicone cure 24 hours before walking on the floor.
Finishing Details: Tile, Lighting, Accessibility, and Design Touches
Tile Choices That Wow
Pick a tile that can handle water, looks good, and fits the Fountain Hills vibe. Large-format porcelain reduces grout lines, while natural stone adds a desert‑inspired texture.
- Matte finish for slip resistance.
- Contrasting border to frame the tub.
- Heat‑resistant backer board for durability.
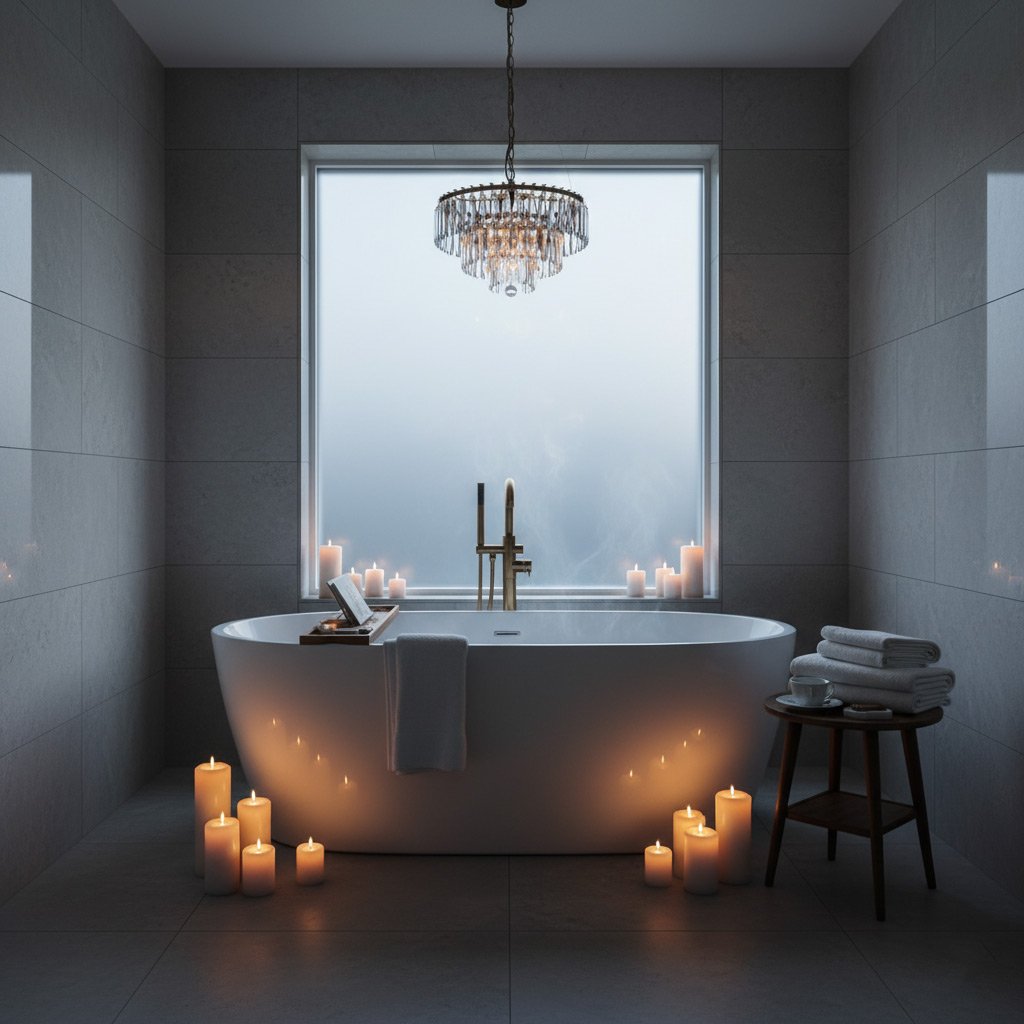
Lighting That Sets the Mood
Good lighting turns a functional space into a retreat. Layered lighting—ambient, task, and accent—gives you control.
- LED recessed lights with dimmer switches.
- Water‑proof vanity sconces for side‑by‑side reading.
- Soft strip lighting under the tub edge for a spa feel.
Accessibility & Design Touches
Make the tub easy to get in and out without sacrificing style. A low‑step entry and grab bars hidden behind sleek tile keep safety subtle.
- Curved hand‑held faucet for reach.
- Built‑in niche for soap and shampoo.
- Accent wall with reclaimed wood for a warm, local touch.
Case Study: Converting a 1970s Shower to a Luxury Tub in Fountain Hills
The Starting Point
When the Martinez family walked into their 1970s bathroom, the shower felt like a relic. Cold tiles, cramped space, and a leaky faucet made every morning a chore. They wanted a tub that could double as a relaxing retreat and a safe spot for Grandma.
- Existing shower footprint: 32" × 32"
- Limited floor space: 5' × 8'
- Budget ceiling: $12,000
The Transformation Process
First, we mapped the floor plan and discovered a hidden joist that could support a 60‑inch freestanding tub. Re‑routing the drain was the biggest surprise—old copper pipe had to be replaced with PVC to meet current codes.
Next, we stripped the tile, reinforced the subfloor, and installed a new shut‑off valve. The tub we chose was a deep‑soak acrylic model with brushed nickel fixtures that matched the home’s desert vibe.
- Demolition: 2 days, no surprises
- Plumbing & structural work: 3 days, inspected and approved
- Tile & finish: 4 days, custom slate to echo local rock
The Result
Three weeks later the Martinez bathroom looked like a boutique spa. The new tub sits under a skylight, bathing the space in natural light. Grandma now steps in safely, and the family enjoys a nightly soak that feels like a mini‑vacation.
Final Thoughts
Stay on Track
Even after the tub is in place, the project isn’t over. Keep a simple checklist handy so nothing slips through the cracks.
- Verify that all connections are leak‑free before sealing the walls.
- Double‑check the tub’s level; a tilted basin ruins the soak.
- Schedule a final inspection to catch any hidden issues.
Protect Your Investment
Maintenance is the secret sauce that keeps your new tub looking showroom‑ready for years.
- Use a non‑abrasive cleaner to preserve the finish.
- Inspect the caulking every six months; replace it at the first sign of cracking.
- Consider a water‑softening system if your Fountain Hills water is hard.
When you’re ready to dive deeper or need a second set of eyes, our team specializes in Shower to Tub Conversions. A quick call can save you hours of guesswork and keep the project moving forward.
People Also Ask
What is the average cost to convert a shower into a tub in Fountain Hills?
The conversion typically ranges from $4,000 to $8,000, depending on the tub style, plumbing changes, and finish materials. High‑end fixtures or extensive structural work can push the price higher.How long does a shower‑to‑tub conversion take from demolition to finish?
Most projects are completed in 1 to 2 weeks, with demolition and framing taking 2–3 days and tile, plumbing, and finishing occupying the remaining time. Delays may occur if unexpected structural issues arise.Do I need a permit for a shower to tub conversion in Fountain Hills?
Yes, Fountain Hills requires a building permit for any plumbing or structural modifications. Your contractor should handle the permit application and inspection scheduling.Can I keep my existing tile when converting a shower to a tub?
If the existing tile is in good condition and matches the new design, it can often be reused, saving time and money. However, mismatched sizes or damaged tiles may require re‑tiling for a seamless look.What accessibility features should I consider for a tub conversion?
Add grab bars, a low‑step entry, and a slip‑resistant floor to improve safety. A handheld showerhead and built‑in seating can also enhance comfort for all users.Fountain Hills Bathroom Remodel brings over a decade of specialized bathroom renovation expertise to homeowners in Fountain Hills, Arizona. Their team combines local knowledge with meticulous craftsmanship to transform spaces into functional, stylish retreats. Committed to personalized service, they guide each project from design through completion with clear communication and reliable timelines.
Need Bathroom Remodel?
We deliver prompt, professional home repair and maintenance services throughout Fountain Hills and surrounding communities (85268, 85255, 85259, 85286, 85287), ensuring problems are resolved quickly and reliably. Our focus is on getting your home back to normal fast, without unnecessary delays.
Get Bathroom Quote